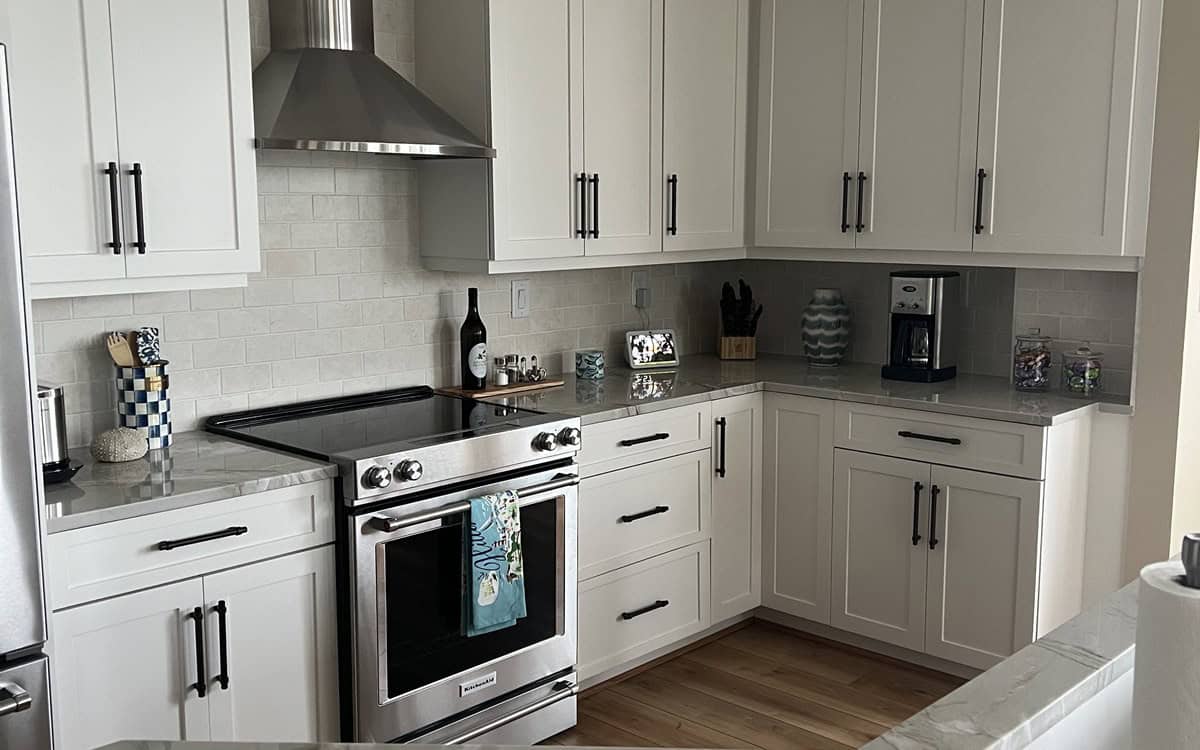
Painting your kitchen cabinets can totally transform your space without the cost of a full remodel. But jumping into cabinet painting without a solid plan can lead to uneven finishes, peeling paint, and a whole lot of frustration. If you’re wondering what the best kitchen cabinet painting process looks like, you’re in the right place.
Key Takeaways:
- Proper prep is the secret to long-lasting results.
- You should always remove cabinet doors and hardware.
- Label everything to make reassembly easy.
- Let each coat dry fully before the next step.
- Use high-quality tools and paints for a smooth finish.

The Importance of Order in the Kitchen Cabinet Painting Process
The order in which you tackle cabinet painting isn’t just about convenience—it’s the difference between a pro-looking finish and a DIY disaster. Following a smart, proven sequence keeps you organized and makes sure the paint sticks where it’s supposed to.
Think of it like baking a cake. You wouldn’t frost it before baking the layers, right? Same idea here.
Step 1: Empty Cabinets and Clear the Space
Start by removing all items from your cabinets and clearing your countertops. Lay down drop cloths and tape off adjacent surfaces like walls, counters, and floors. The less mess, the better.
Pro Tip: Create a temporary cooking station elsewhere in your home if the process will take a few days.
Step 2: Remove Doors, Drawers, and Hardware
Take off all cabinet doors and remove the drawers. Unscrew the hinges, handles, and knobs—and label everything as you go. Use numbered stickers or painter’s tape to keep track of what goes where.
Keep all screws and hardware in a clearly marked container or baggie.
Step 3: Clean All Surfaces Thoroughly
Before you sand or prime, cleaning is critical. Kitchen cabinets collect grease, dust, and residue that will keep paint from sticking. Use a degreasing cleaner like TSP (trisodium phosphate) or a vinegar-water mix to wipe down every surface.
Rinse well and let dry completely.
Step 4: Sand the Surfaces
Lightly sand all surfaces you plan to paint using 120–150 grit sandpaper. You’re not trying to remove the old finish entirely—just rough it up so the primer has something to grip.
Use a tack cloth or vacuum to remove all dust when you’re done.
Step 5: Apply Primer
Primer is your paint’s best friend. It seals the surface and helps the paint stick evenly. Use a high-quality bonding primer and apply a thin, even coat to all cabinet surfaces.
Let the primer dry completely (check the label for recommended drying time).
Step 6: Sand Lightly (Again!)
After the primer dries, do a quick, light sanding with a fine-grit sandpaper (220 grit is ideal). This evens out any raised grain or brush marks.
Wipe clean before moving on.
Step 7: Paint—Finally!
Now the fun part. Use a high-quality cabinet paint (water-based enamel or alkyd are great choices). Apply thin, even coats with a brush, roller, or sprayer, depending on your preference.
Let each coat dry fully before applying the next. Two to three coats usually does the trick.
Step 8: Let Everything Cure
Don’t rush this part. Let your cabinets dry and cure for at least 24–48 hours before reassembling. Full cure time can take up to a week, so be gentle during that period.
Step 9: Reassemble and Admire
Reattach all hardware and put your doors and drawers back in place (thanks to your labels, this part’s easy!). Stand back and admire your handiwork—you’ve just given your kitchen a whole new look.

Bonus Tip: Choose the Right Paint for Cabinets
Not all paint is the same—especially when it comes to cabinets. Regular wall paint won’t hold up to daily wear and tear in a high-traffic kitchen. Look for paints labeled as cabinet-grade or enamel-based. These dry harder, resist moisture, and are easier to clean.
Also, consider a satin or semi-gloss finish. They’re easier to wipe down and give a polished, professional look.
Mistakes to Avoid During the Kitchen Cabinet Painting Process
Even experienced DIYers can run into snags. Here are a few common mistakes and how to avoid them:
- Skipping sanding: This leads to poor paint adhesion.
- Not labeling parts: Reassembly becomes a confusing puzzle.
- Applying thick coats: Causes drips and uneven finishes.
- Skipping the cure time: Cabinets will stick, smudge, or chip.
Avoiding these pitfalls keeps your project smooth and frustration-free.
Final Thoughts: Trust the Process
Following a detailed, step-by-step kitchen cabinet painting process saves you time, money, and major headaches. With the right prep, tools, and patience, any homeowner can pull this off.
Find Your DIY Cabinet Painting Project Overwhelming?
At Color Splash Painting, our team is here to guide you through every step or take the reins and handle the hard work for you. Whether you need expert advice, top-tier products, or full-service cabinet painting, we’ve got your back.
Call us at 843-825-1581 today to get a free consultation and turn your kitchen into a space you love!


